
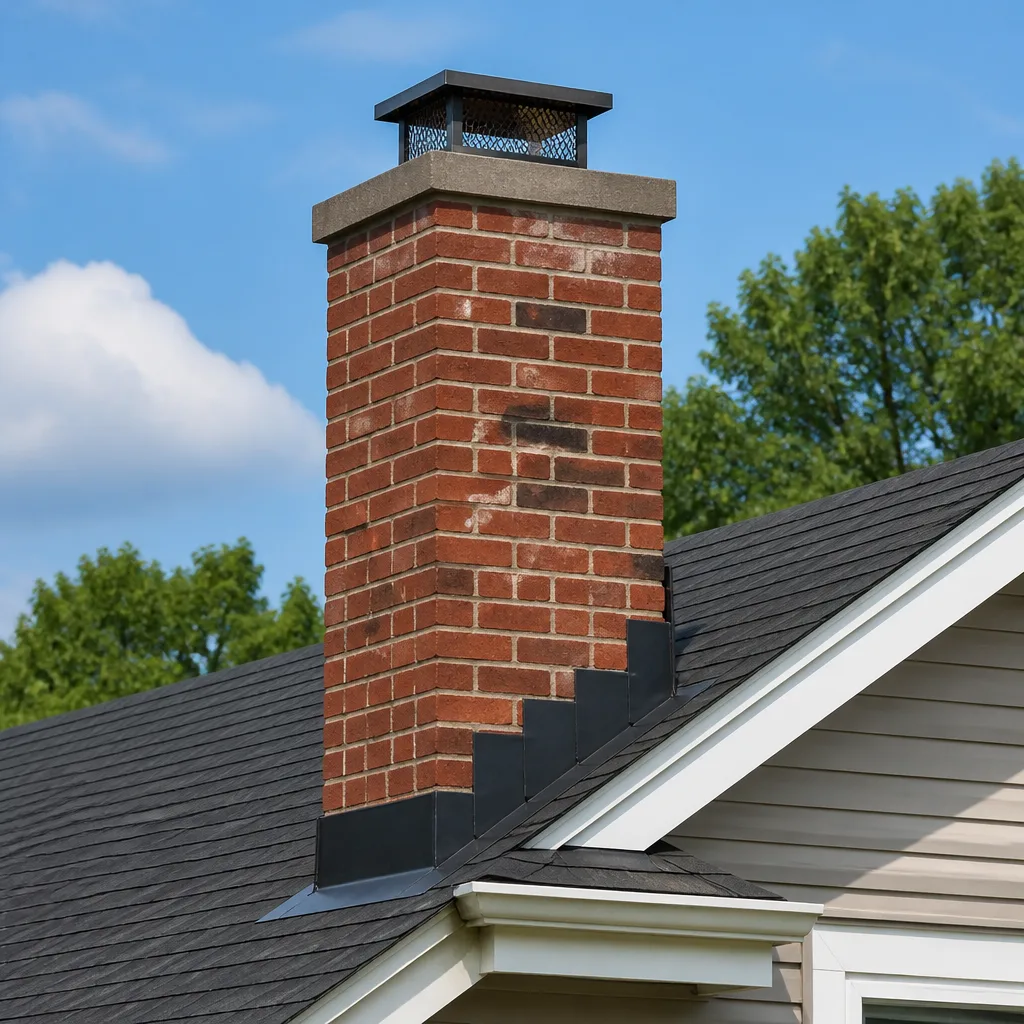
 Masonry repair
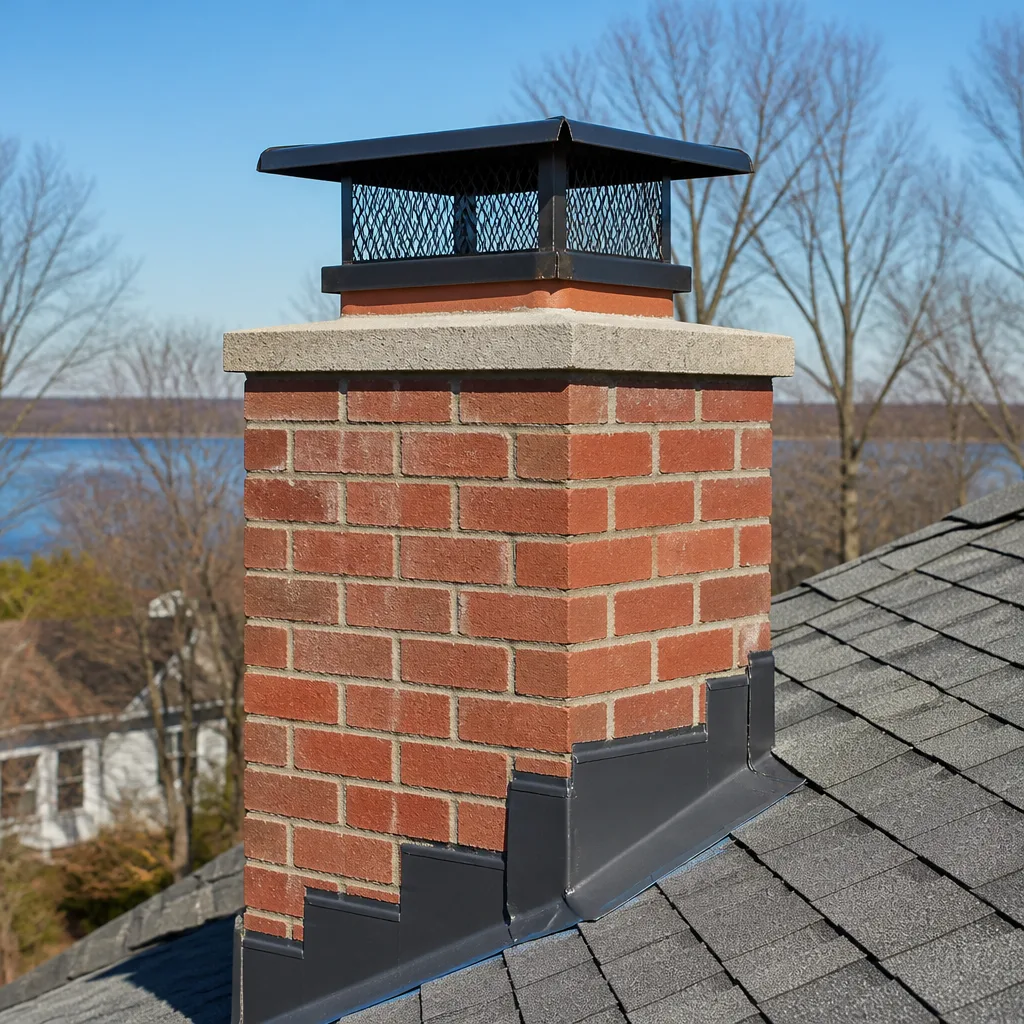 Sweep & inspection
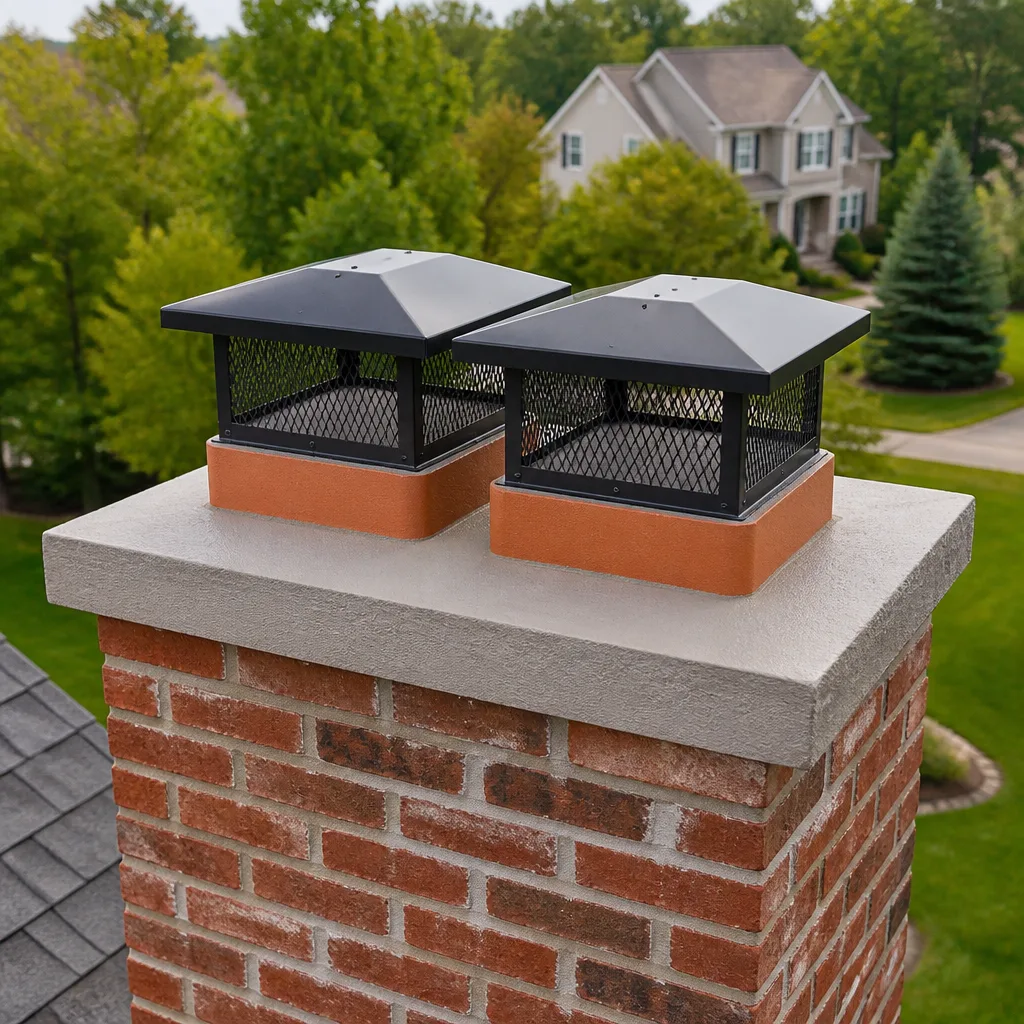 Caps & crowns
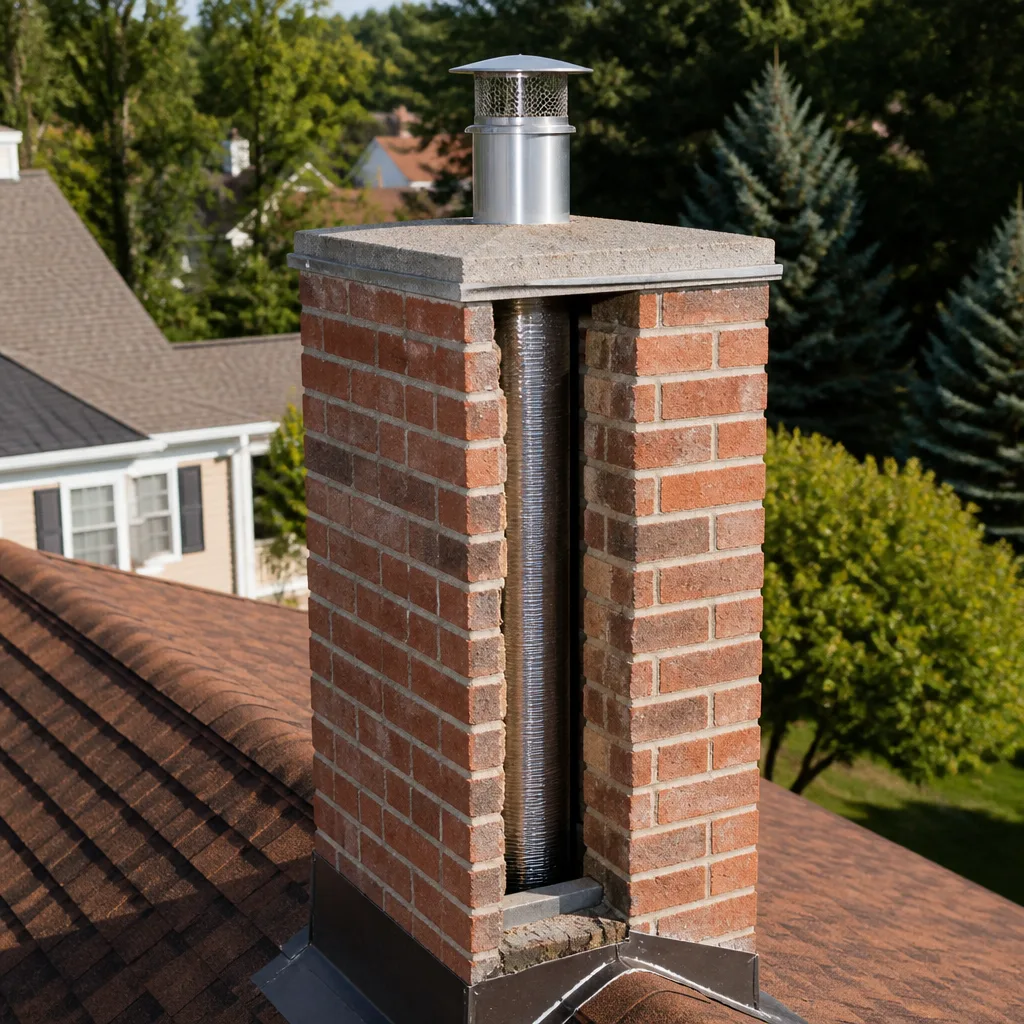 Flue relining
 Gas fireplace service
Level 1 sweep and inspection to the NFPA 211 annual standard - flue, crown, cap, and flashing checked and photographed
Chimney sweep logs do not sweep chimneys. They loosen some creosote - which then falls where a brush and vacuum still have to collect it.
DuraFlex Crown Repair: The Torrance Owner’s Guide
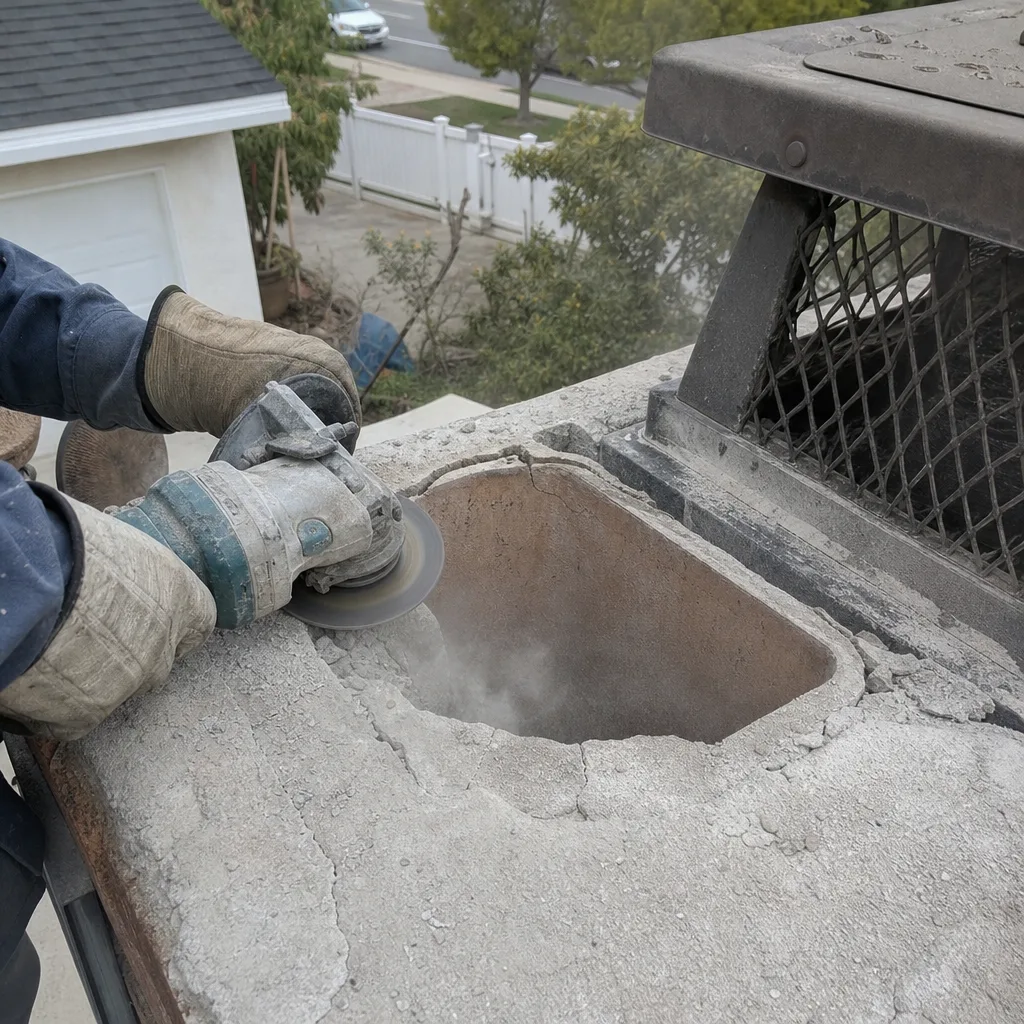
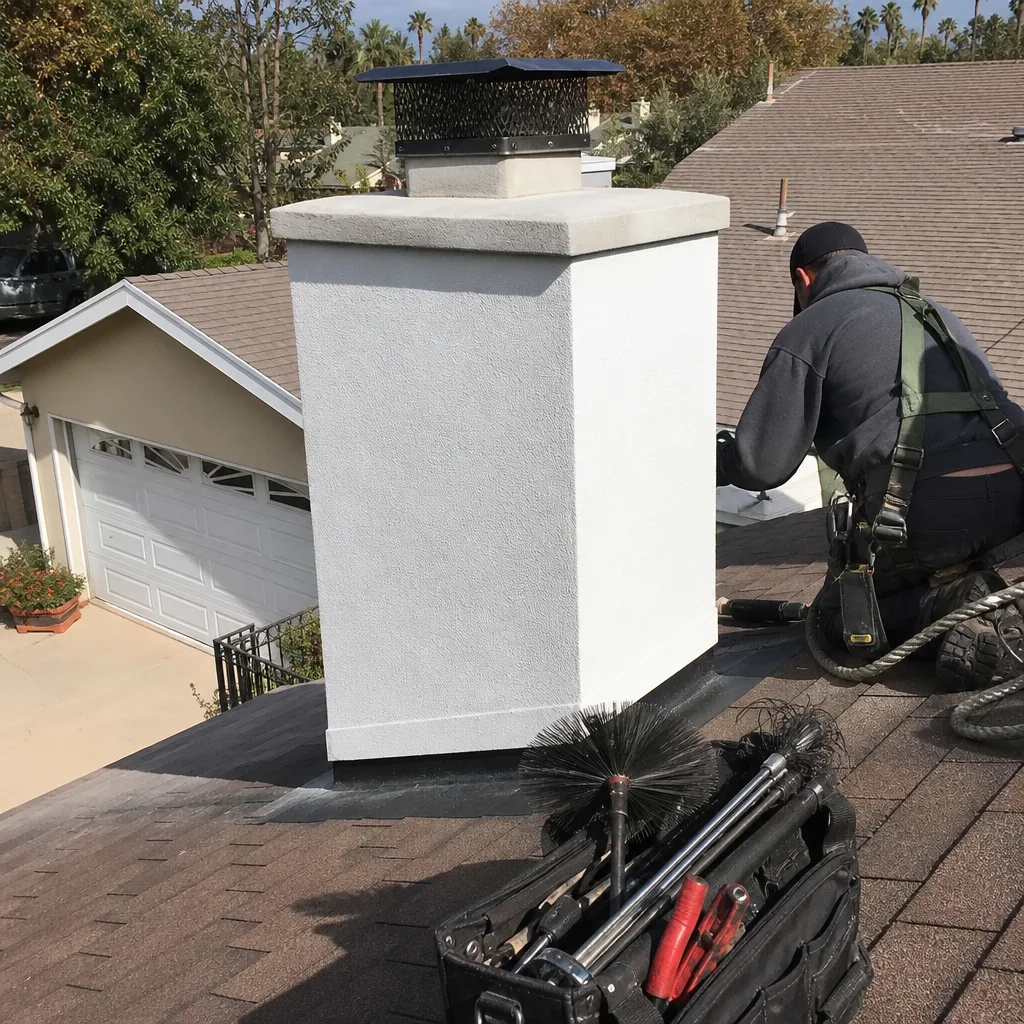
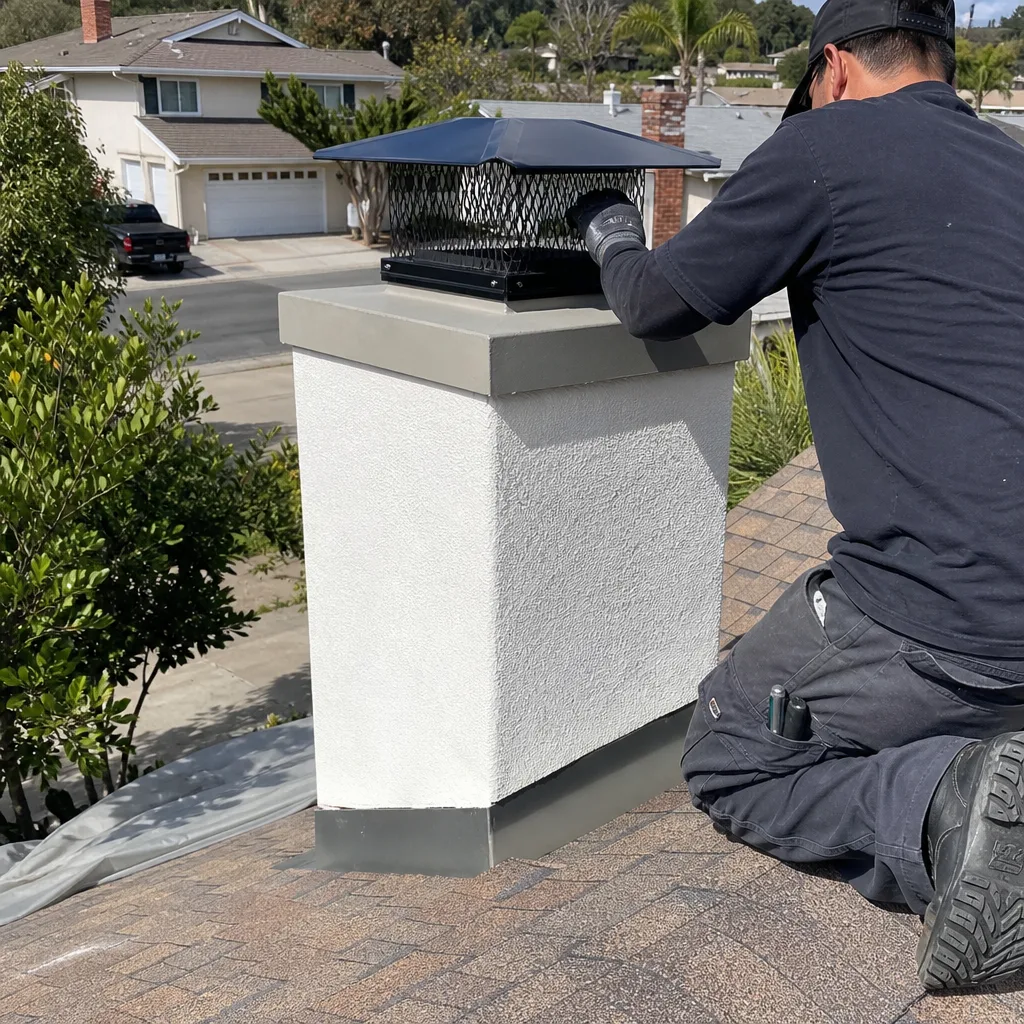
DuraFlex crown repair in Torrance typically runs $350 – $800 installed, depending on how much of the crown has to be rebuilt versus sealed. We stock DuraFlex-compatible crown materials on our trucks and can usually schedule the repair within a few days, not weeks. Most homeowners discover the problem the same way: a water stain on the ceiling near the chimney, or a chimney sweep (us, usually) pointing out that the crown looks more like a cracked sidewalk than a weather cap. The crown is that concrete-like slab at the very top of your chimney, and when it fails, water gets behind the liner and into places it should never go. Here’s the good news: it’s a fix we do constantly in Torrance, and it rarely requires a full rebuild once we get eyes on it.
Which DuraFlex Models This Applies To
The crown repair itself doesn’t care which DuraFlex liner you have, but the height of the crown above your DuraFlex cap and the diameter of the liner passing through it absolutely matter when we’re resealing around the base. DuraFlex liners are the corrugated stainless steel flex systems installed in existing masonry chimneys, and the crown is that top slab the liner pokes through. If you’ve got the DuraFlex Pro or the standard 316L flex liner, the crown cap assembly sits on top of it, and any crown repair has to work around that cap’s footprint. The compatibility gotcha: the crown’s top surface needs to slope at least 2 inches per foot away from the liner, and we see a lot of Torrance crown failures where the original pour was too flat around a DuraFlex cap, trapping water right at the liner’s base. So the crown repair isn’t just “new cement.” It’s regrading the surface so water sends itself away from the liner, then sealing the liner-to-crown joint with a flexible, high-temperature sealant that won’t crack. We also check the size of the liner to confirm the crown’s center opening matches DuraFlex’s actual outer diameter, because if that joint is too tight, normal thermal expansion will crack the fresh crown within a season or two. You can find the liner size printed on the DuraFlex plate attached where the liner connects to your appliance or on the original installation paperwork.
Styles & brands we work with
Signs Your DuraFlex Crown Repair Is Failing
Here’s what we’ve seen on the older crowns around Torrance, and what each sign is actually telling us:
- Hairline cracks in the crown surface. This is stage one. Water freezes and thaws inside, and in Torrance, the night-to-morning temperature swings near the coast do enough of this even though we never see a hard freeze. The crack opens a little more every season.
- Spalled or flaking concrete on top of the chimney. This is stage two. Water has gotten under the surface and is popping small pieces off. You’ll often see little bits of crown material in the gutter or on the roof near the chimney.
- Water stains on ceilings or walls near the chimney chase. This means water has already gotten past the crown and is traveling down the liner channel or inside the masonry. At this point, it’s past a quick fix. The crown and the internal water path both need attention.
- Rust staining on the DuraFlex cap or liner visible at the top. That rust is reacting with water that’s sitting where it shouldn’t. It doesn’t mean the liner is shot, but it tells us water is pooling at the crown-to-liner joint. If left alone, the rust will start to eat the liner’s outer wall.
- The crown has a flat or sunken area near the liner. This is the classic Torrance failure we already mentioned: the original pour wasn’t sloped, so water collects in a low spot right where the liner passes through. The fix is rebuilding that section with proper slope, not just slapping sealant on top.
See the difference
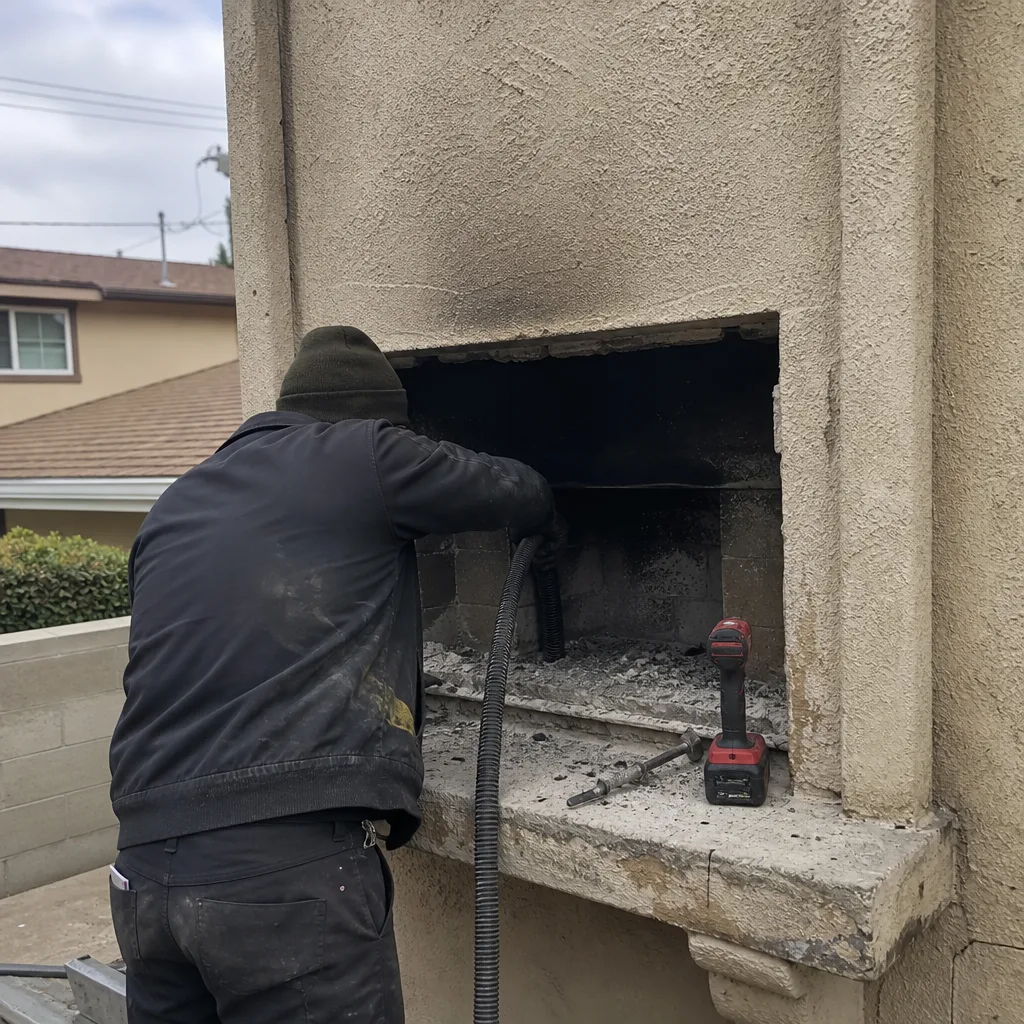 Before
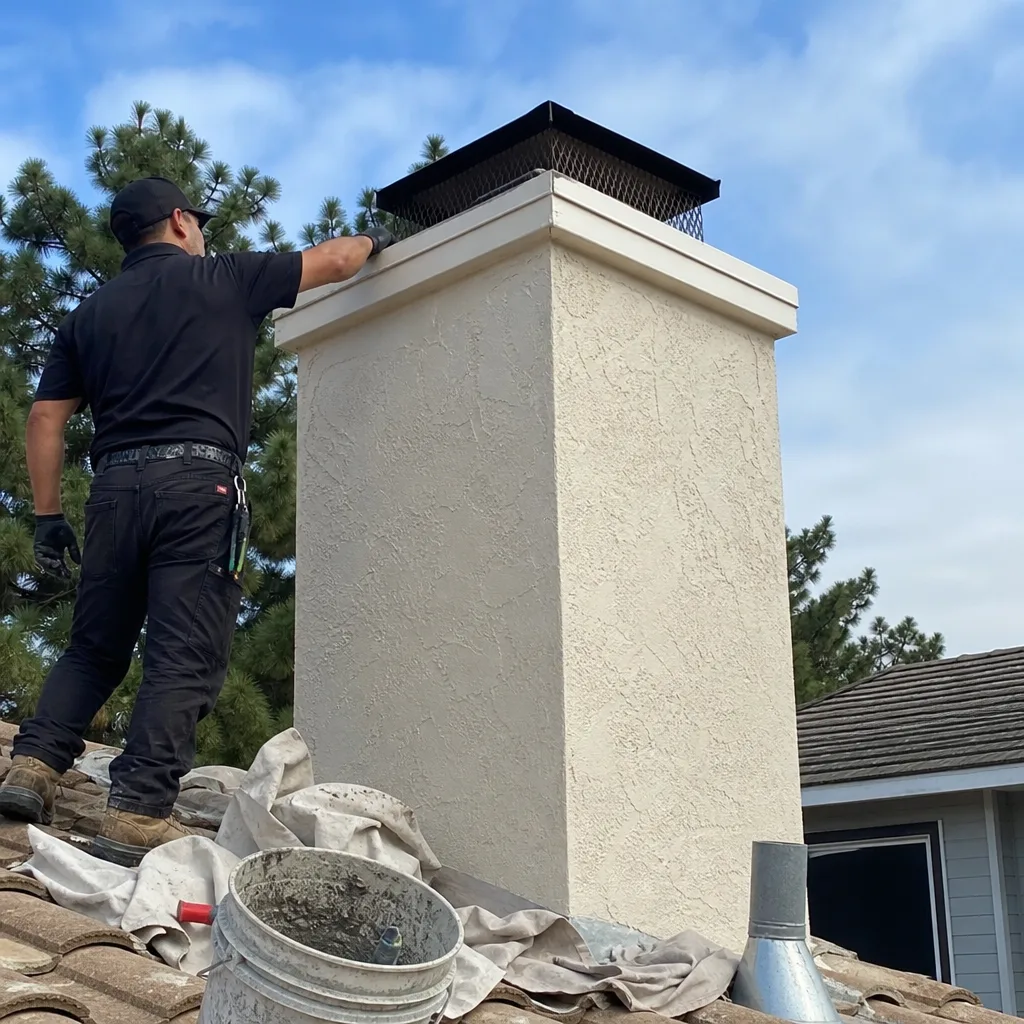 After
After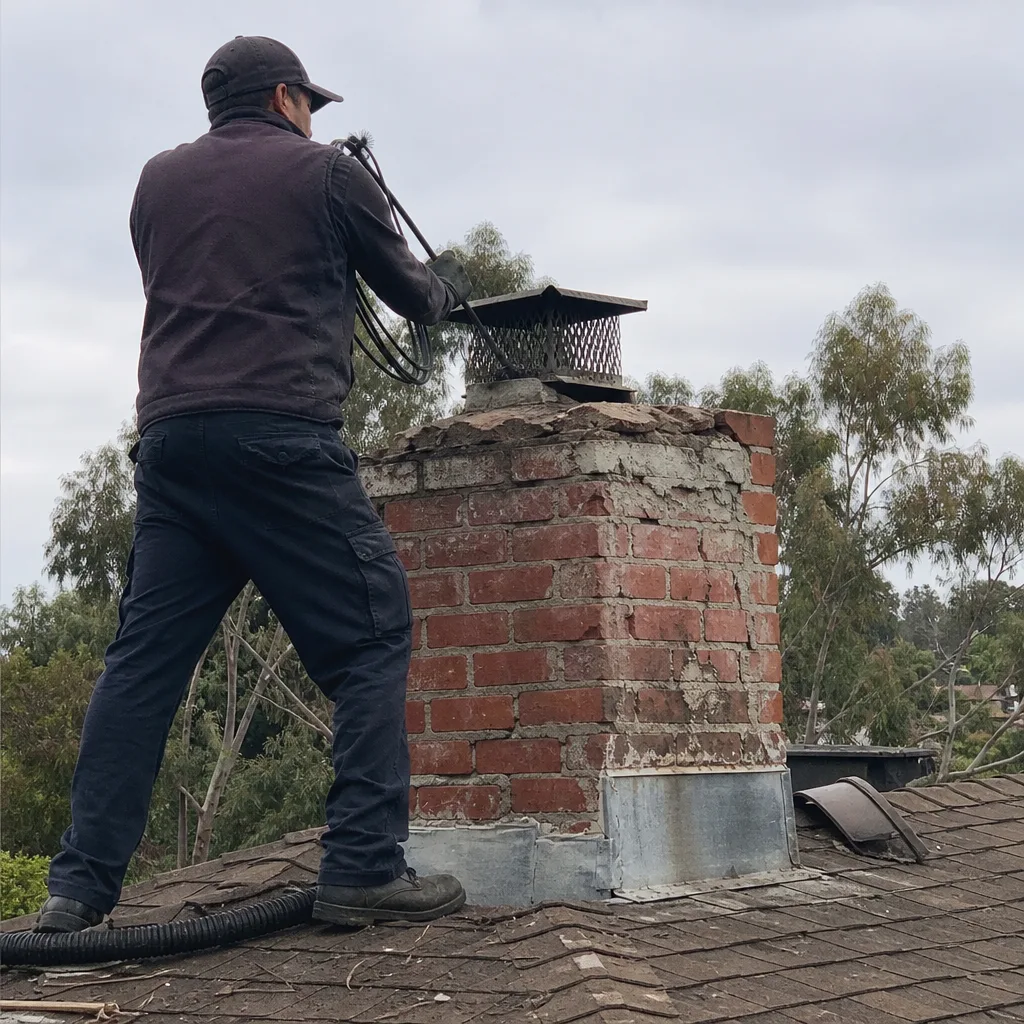 Before
 After
After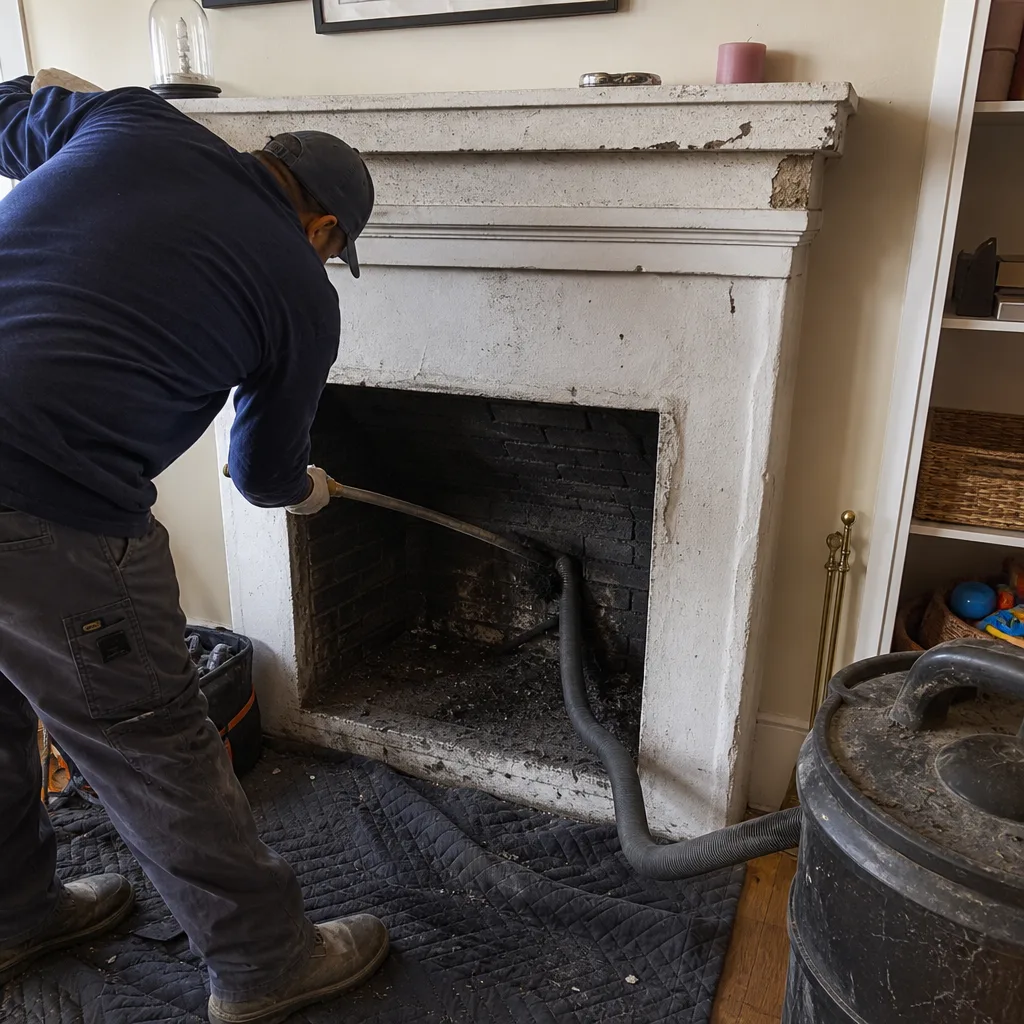 Before
 After
AfterReplacement Cost & What’s Included
Here’s what we charge and why, honestly.
| Job | Typical Cost Range (Torrance) |
|---|---|
| Minor crack sealing and crown surface coating | $350 – $500 |
| Partial crown rebuild with regrading around the DuraFlex liner | $450 – $650 |
| Full crown removal and repour with new form and slope | $600 – $800 |
That’s the installed price, not just the materials. The range depends on whether the crown is a simple flat slab we can repair in place or whether we need to break out the old material and repour a new one with proper slope. You’ll get a written price before anyone picks up a trowel, and we’ll show you the camera photos of what we’re seeing before we recommend the repair. If your crown is actually in decent shape and only needs sealing, we’ll tell you that. We’re not going to recommend a rebuild just because the truck is here. The repair carries our 365-Day Done Right Promise: if the crown fails within a year, we come back and fix it free.
DIY or Call Us?
Here’s the honest split. You can safely inspect your crown from the ground with binoculars or from a ladder only if the roof is accessible and you’re confident on it. Look for visible cracks, pooling water after rain, or missing chunks along the edge. What you shouldn’t do is climb onto the roof and start sealing cracks with a hardware store patch kit. Crown repair isn’t just about filling cracks; it’s about regrading the surface so water can’t pool, sealing the joint around the liner with the right flexible compound, and using a crown material that won’t crack the first time the Torrance sun hits it. A failed patch job means water gets behind the liner, and then you’re looking at a $2,000 to $5,000 repair instead of a few hundred. Our advice: if you’re just looking, go ahead and look. If you see cracks, call us at (424) 358-3187. We’ll schedule a visit, put eyes on it with a camera, and send you photos of exactly what we find. If we can’t show you a photo of the problem, it isn’t a problem. And if it is a problem, you’ll have a written price before any work starts.
FAQs
In Torrance’s salt air and coastal sun, a properly built crown with good slope will last 20 – 25 years. A poorly built one, which is what most original Torrance crowns are, often fails in 8 – 12 years. The ocean air accelerates concrete deterioration faster than inland locations.
Yes, most of the time. About 70% of the crown failures we see in Torrance can be repaired by sealing cracks and regrading the surface rather than a full repour. A full replacement is only needed when the concrete is too crumbly to hold a patch. We’ll show you the camera photos that back up whichever call we make.
Most crown repairs take 2 – 3 hours from setup to cleanup. That includes prep, mixing the crown material, applying it, regrading, and sealing around the DuraFlex liner. You’ll get live arrival tracking before we show up and before-and-after photos when we’re done.
We stock the crown repair compounds and high-temperature sealants that work with DuraFlex liners, plus the materials we use for partial rebuilds. You don’t have to wait for a special order. We also work with products from HeatShield and Gelco when a repair calls for them, so the parts on the truck match the job, not the other way around.
Written by Cory Mitchell, Owner, Hadley Chimney Torrance at Hadley Chimney Torrance, serving Torrance and nearby areas.